Articel Details
UV Adhesive Not Fully Cured? Don't Panic—Here Are the Causes and Fixes!
UV adhesive not fully curing? Learn the 4 main causes—wavelength mismatch, low energy, dual-cure issues, and expired glue—plus proven solutions to fix tacky or weak bonds.
11-08-26
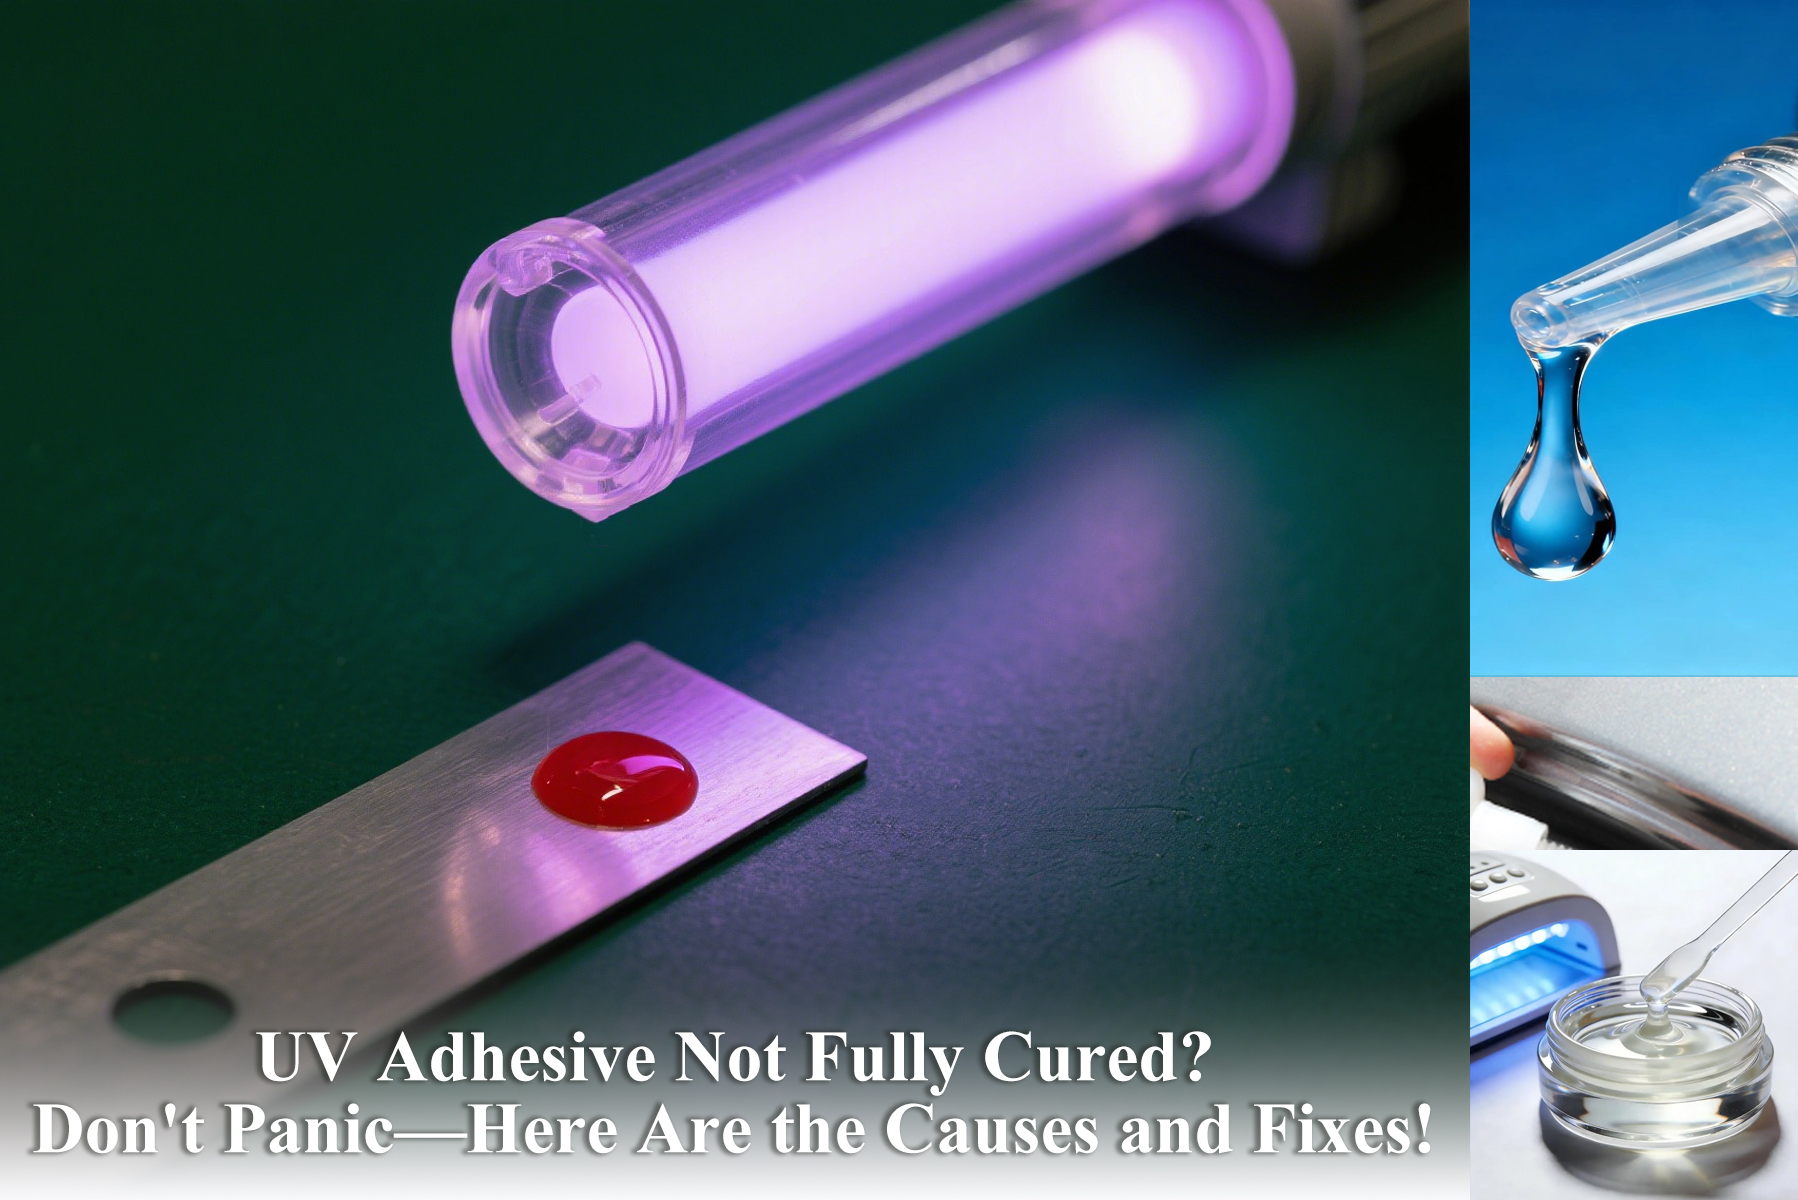 UV Adhesive Not Fully Cured? Don't Panic—Here Are the Causes and Fixes!
You've carefully bonded your parts, wiped off the excess surface adhesive, only to find the bond strength is disappointingly weak—or worse, it falls apart at the slightest touch. If this sounds familiar, chances are your UV adhesive hasn't fully cured.
Hello everyone, I'm the editor.
UV adhesives (also known as light-curing adhesives or no-shadow glue) are practically legendary in industries like electronics manufacturing, optical lens assembly, medical devices, and handmade crafts—thanks to their "instant curing" and "transparent, residue-free" properties. But any process that relies so heavily on "light" is bound to run into light-related issues.
Many users encounter this scenario: The UV adhesive is exposed to the lamp, the surface looks dry, but the inside remains gooey, or the overall strength is far below expectations. This is a classic case of incomplete curing.
Today, let's systematically break down the major culprits behind UV adhesive failing to dry or harden properly—and the corresponding "first-aid" solutions.
Quick Refresher: How Does UV Adhesive "Harden"?
UV stands for ultraviolet (wavelength range: 10–400 nm). The key ingredient in UV adhesives is a photoinitiator—think of it as a "key." When ultraviolet light hits it, the photoinitiator absorbs the light energy and generates free radicals or cations, instantly triggering monomer polymerization and crosslinking. The adhesive transforms from liquid to solid in just a few seconds.
The critical point is: this reaction requires light of the right wavelength to "unlock" the process, and sufficient energy to "drive" the reaction forward. If either link in the chain fails, curing issues will follow.
The 4 Major Culprits Behind Incomplete Curing
1. Wavelength and Energy Mismatch (Most Common)
Wrong Wavelength: Different UV adhesives use photoinitiators with specific absorption peaks (commonly 365 nm, 395 nm, etc.). If you're using a 395 nm LED lamp to cure an adhesive designed for 365 nm, it's like using the wrong key for a lock—it simply won't open.
Insufficient Energy: The lamp has been in use for too long, causing UV output to degrade; or the irradiation distance is too far, or the exposure time is too short, resulting in insufficient energy density reaching the adhesive layer. The deeper portions of the adhesive simply don't get "baked through."
2. The Adhesive Uses a "Dual-Cure" System
Some UV adhesives are designed as UV + thermal cure or UV + moisture cure hybrid systems. These products are intentionally engineered not to rely 100% on ultraviolet light for the entire reaction. If you only expose them to UV and skip the subsequent heat or moisture step, the chemical reaction only completes halfway—and strength will naturally fall short.
3. Expired or Improperly Stored Adhesive
The photoinitiators and monomers in UV adhesives have a limited active lifespan. If the adhesive has been stored for too long, or exposed to high temperatures or ambient scattered light, the photoinitiators may decompose or become deactivated prematurely. Expired adhesive won't fully cure no matter how long you shine a light on it.
4. Adding the Wrong Diluents
To improve flow or reduce viscosity, some users add non-reactive diluents (like inert solvents) on their own. These diluents remain trapped in the cured adhesive layer like "impurities," hindering polymer crosslinking—resulting in a soft, tacky layer.
Targeted Solutions: 4 Steps to Resolve Curing Issues
Solution 1: Upgrade or Adjust the Light Source (Immediate Impact)
Verify the Wavelength: Check the adhesive's TDS (Technical Data Sheet) to confirm the required peak wavelength (e.g., 365 nm), and pair it with the appropriate UV-LED lamp or mercury lamp.
Boost Energy: Shorten the irradiation distance (recommended: 5–15 cm), extend the exposure time, or switch to a higher-power lamp.
Replace Lamps on Schedule: Mercury UV lamps typically require replacement after 800–1,000 hours of use. LED lamps last longer, but their output should still be periodically checked with a radiometer.
Rescue via Secondary Curing: If you don't have a higher-power lamp on hand, try placing the partially cured parts under direct sunlight for a while (sunlight contains UV), or use a high-intensity handheld lamp to re-expose the area. In many cases, this can "save" the bond.
Solution 2: For Dual-Cure Adhesives, Don't Skip the "Follow-Up"
If you've confirmed the product is a UV + thermal cure system, be sure to add a heat-curing step after UV positioning. Typically, this involves heating to 80–120°C for 30–60 minutes, following the manufacturer's guidelines—the improvement in strength will be significant. For UV + moisture cure systems, place the parts in an appropriately humid environment for 24–48 hours.
Solution 3: Discard Expired Adhesive—or Use an Accelerator
If the adhesive has passed its shelf life, dispose of it without hesitation. Don't try to "save" it—otherwise, you'll end up scrapping your finished products instead.
If the adhesive still has some reactivity but seems sluggish, you can try adding a specialized UV curing accelerator—but always run a small-sample test first. The safest approach is simply to replace it with fresh, high-quality adhesive of the same grade.
Solution 4: Use Diluents Properly
Only use reactive diluents—monomer-type diluents that participate in the UV crosslinking reaction (as recommended by the manufacturer). Never use inert solvents like ethanol, acetone, or toluene.
Control the dosage: Typically, diluent addition should not exceed 5%–10% of the total weight. Mix thoroughly, and extend the curing time slightly to compensate for the reduced crosslink density.
Final Tip: How to Tell If Curing Is Complete?
Finger-touch test: Press the adhesive surface—no fingerprint marks and no tackiness are the basic benchmarks.
Hardness test: Use a pencil hardness tester or Shore durometer to verify that the hardness reaches at least 80% of the value specified in the adhesive's datasheet.
Destructive test: Use a blade to scrape or forcibly pry apart the bonded parts, then examine the fracture surface. If the fracture appears tacky or stringy, internal curing has failed. If the fracture is clean and glass-like, curing is successful.
UV adhesive curing is a photochemical process—not a physical drying step where you "just shine a light and call it done." Proper light-source matching, sufficient energy, fresh adhesive, and correct operating procedures—these four elements are equally indispensable.
The next time you run into "adhesive won't dry," run through the checklist above item by item—99% of problems come down to light-source and adhesive compatibility. Here's to saying goodbye to bonding frustrations!
If you have any unique experiences or pro tips for using UV adhesives, feel free to share them in the comments below!
Recent Blog Here
Related Articles
Articel
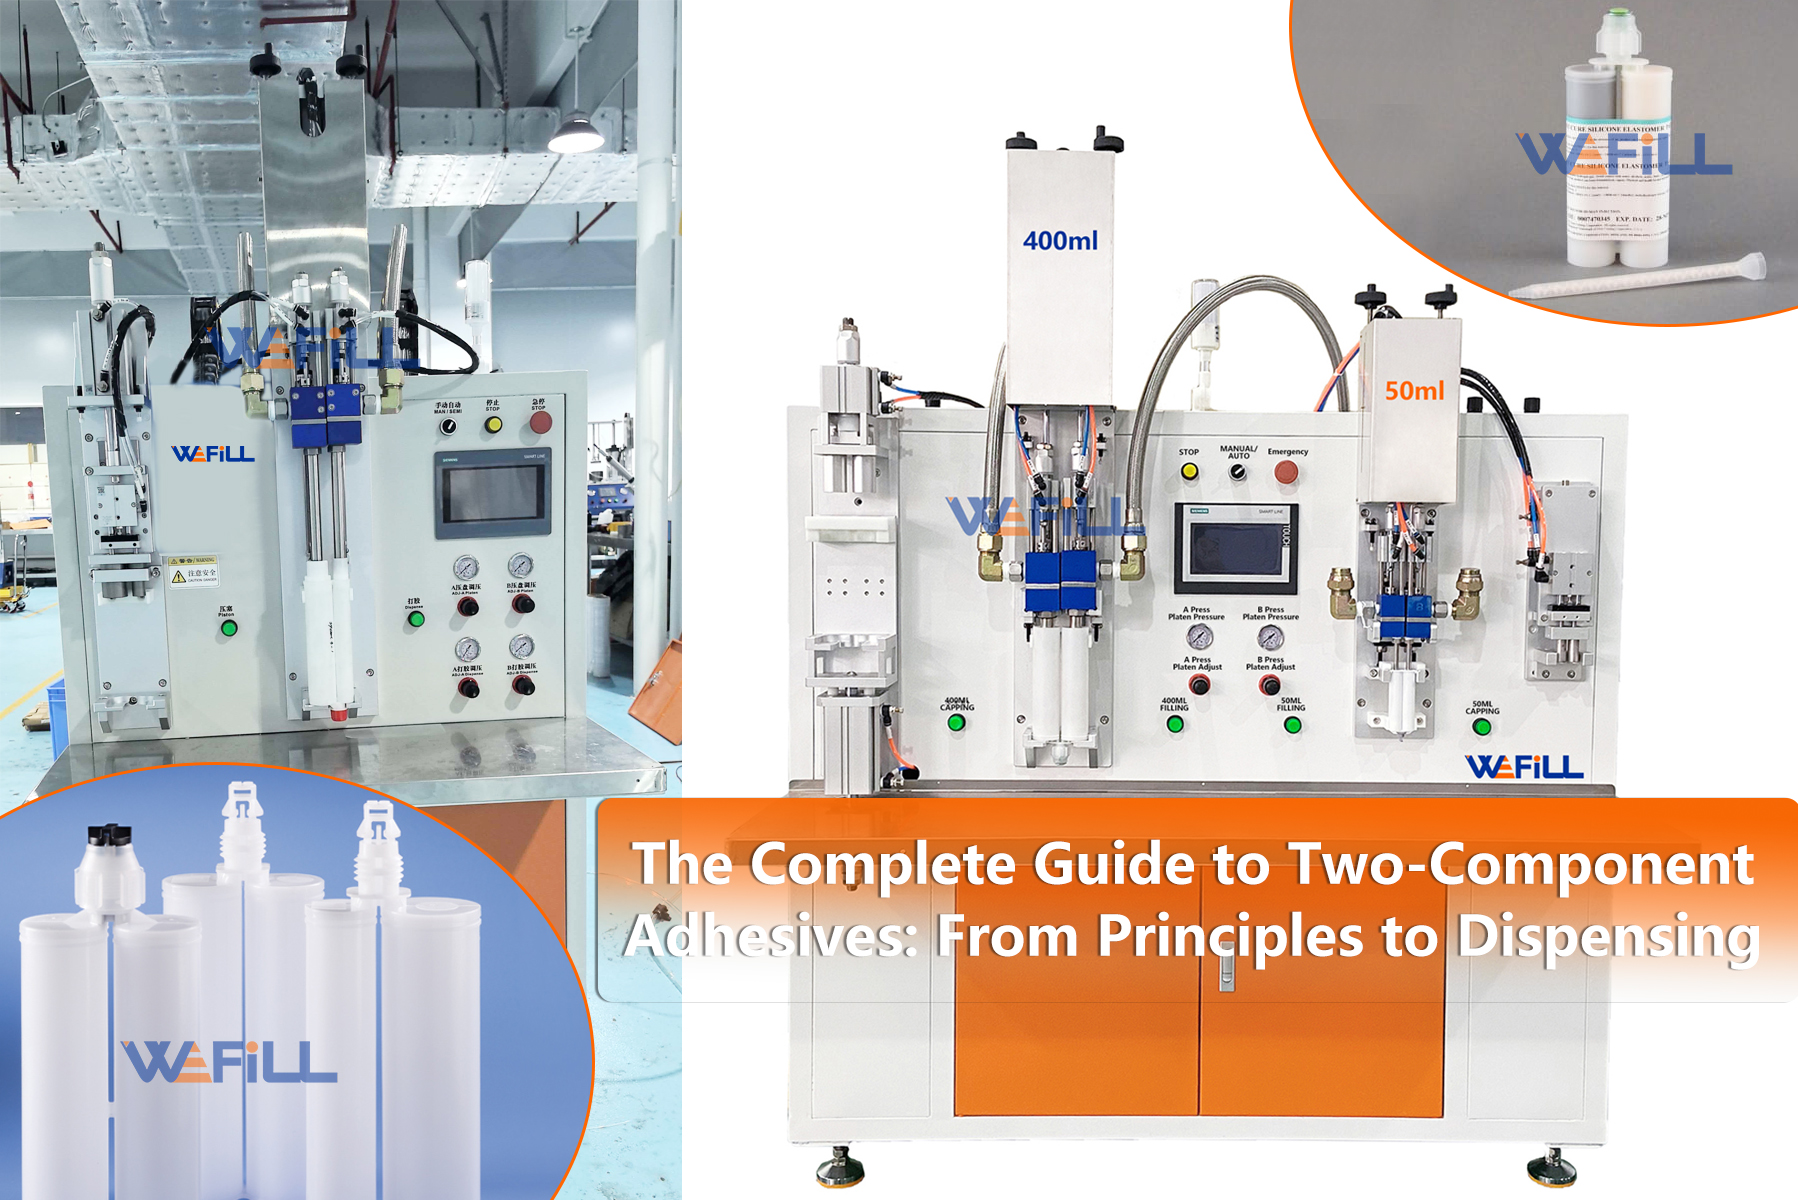
The Complete Guide to Two-Component Adhesives: From Principles to Dispensing
All the Lorem Ipsum generators on the Internet tend to repeat predefined chunks.
Articel
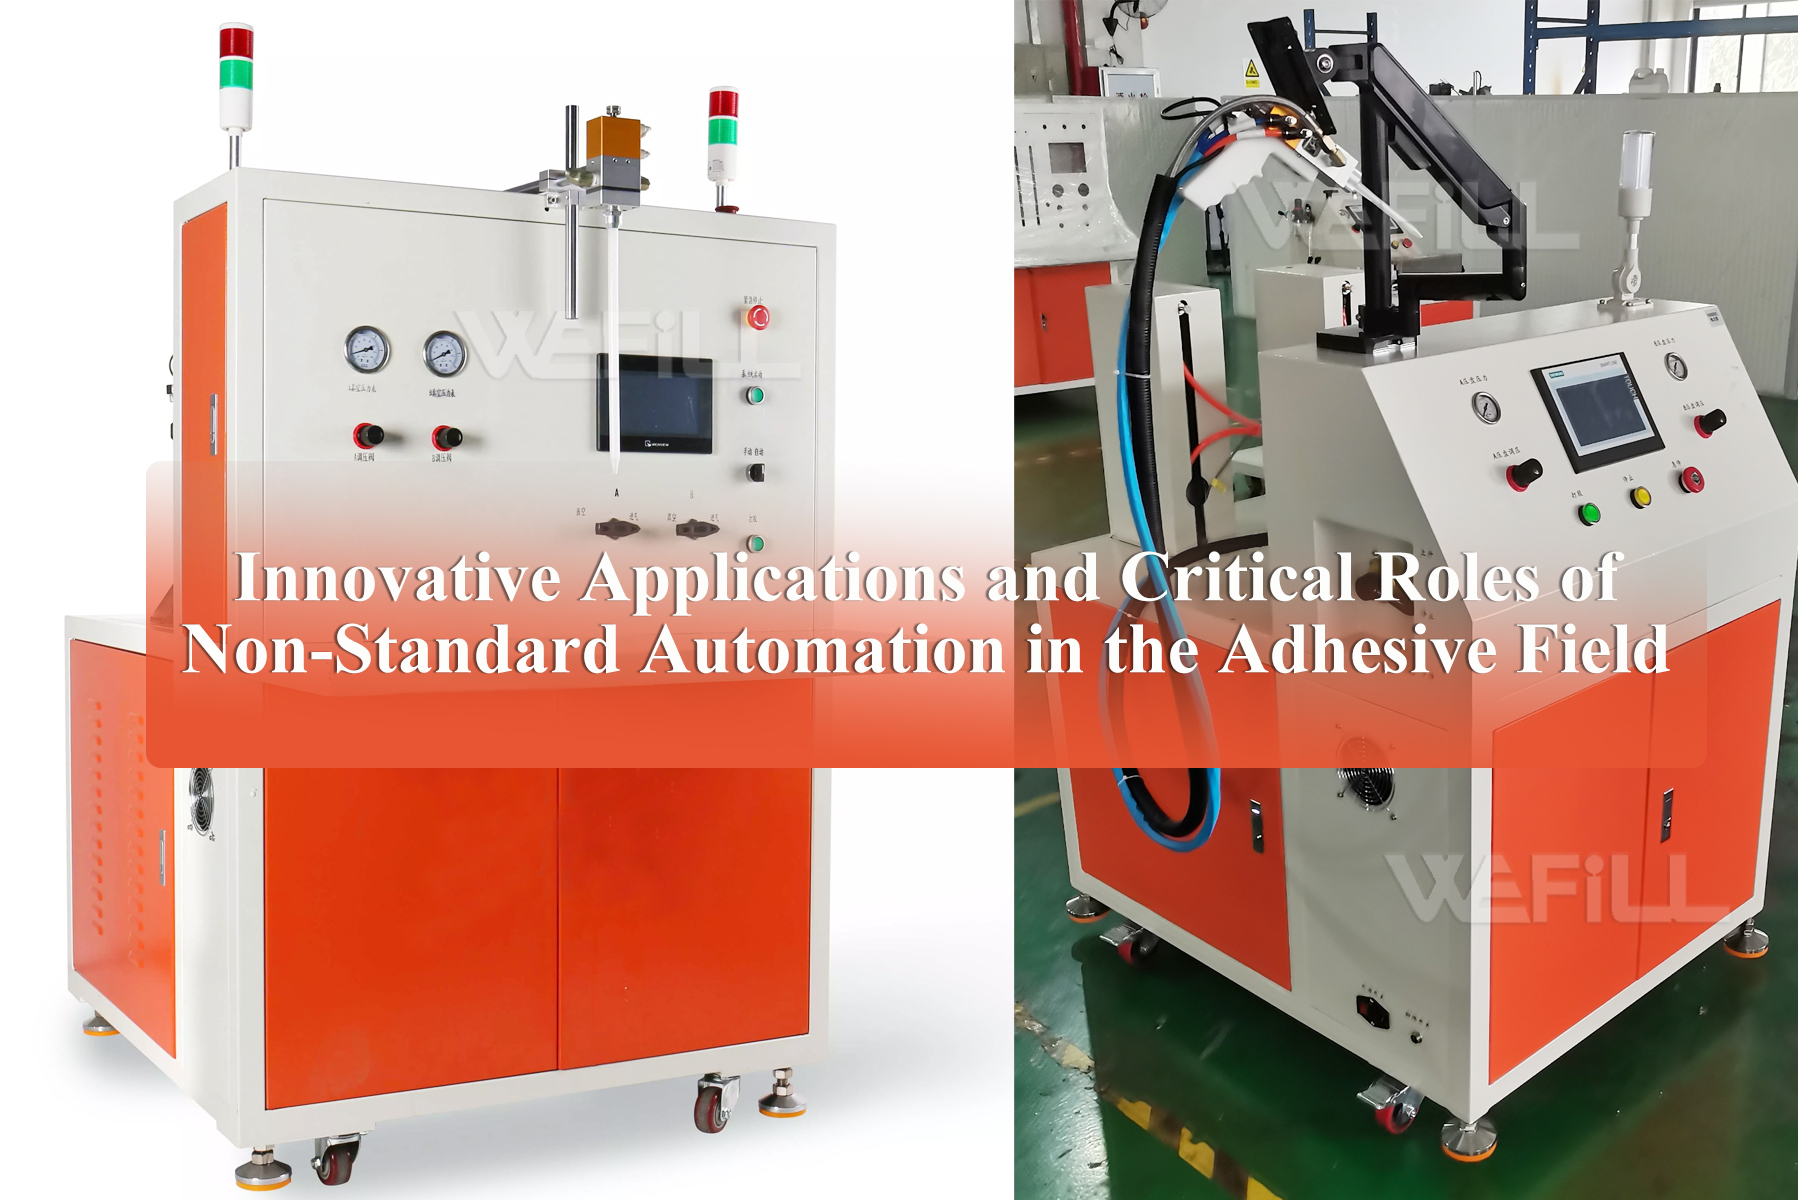
How Does Non-Standard Automation Revolutionize Adhesive Applications? — WEFILL's Future of Precision, Efficiency, and Intelligence
All the Lorem Ipsum generators on the Internet tend to repeat predefined chunks.
Articel
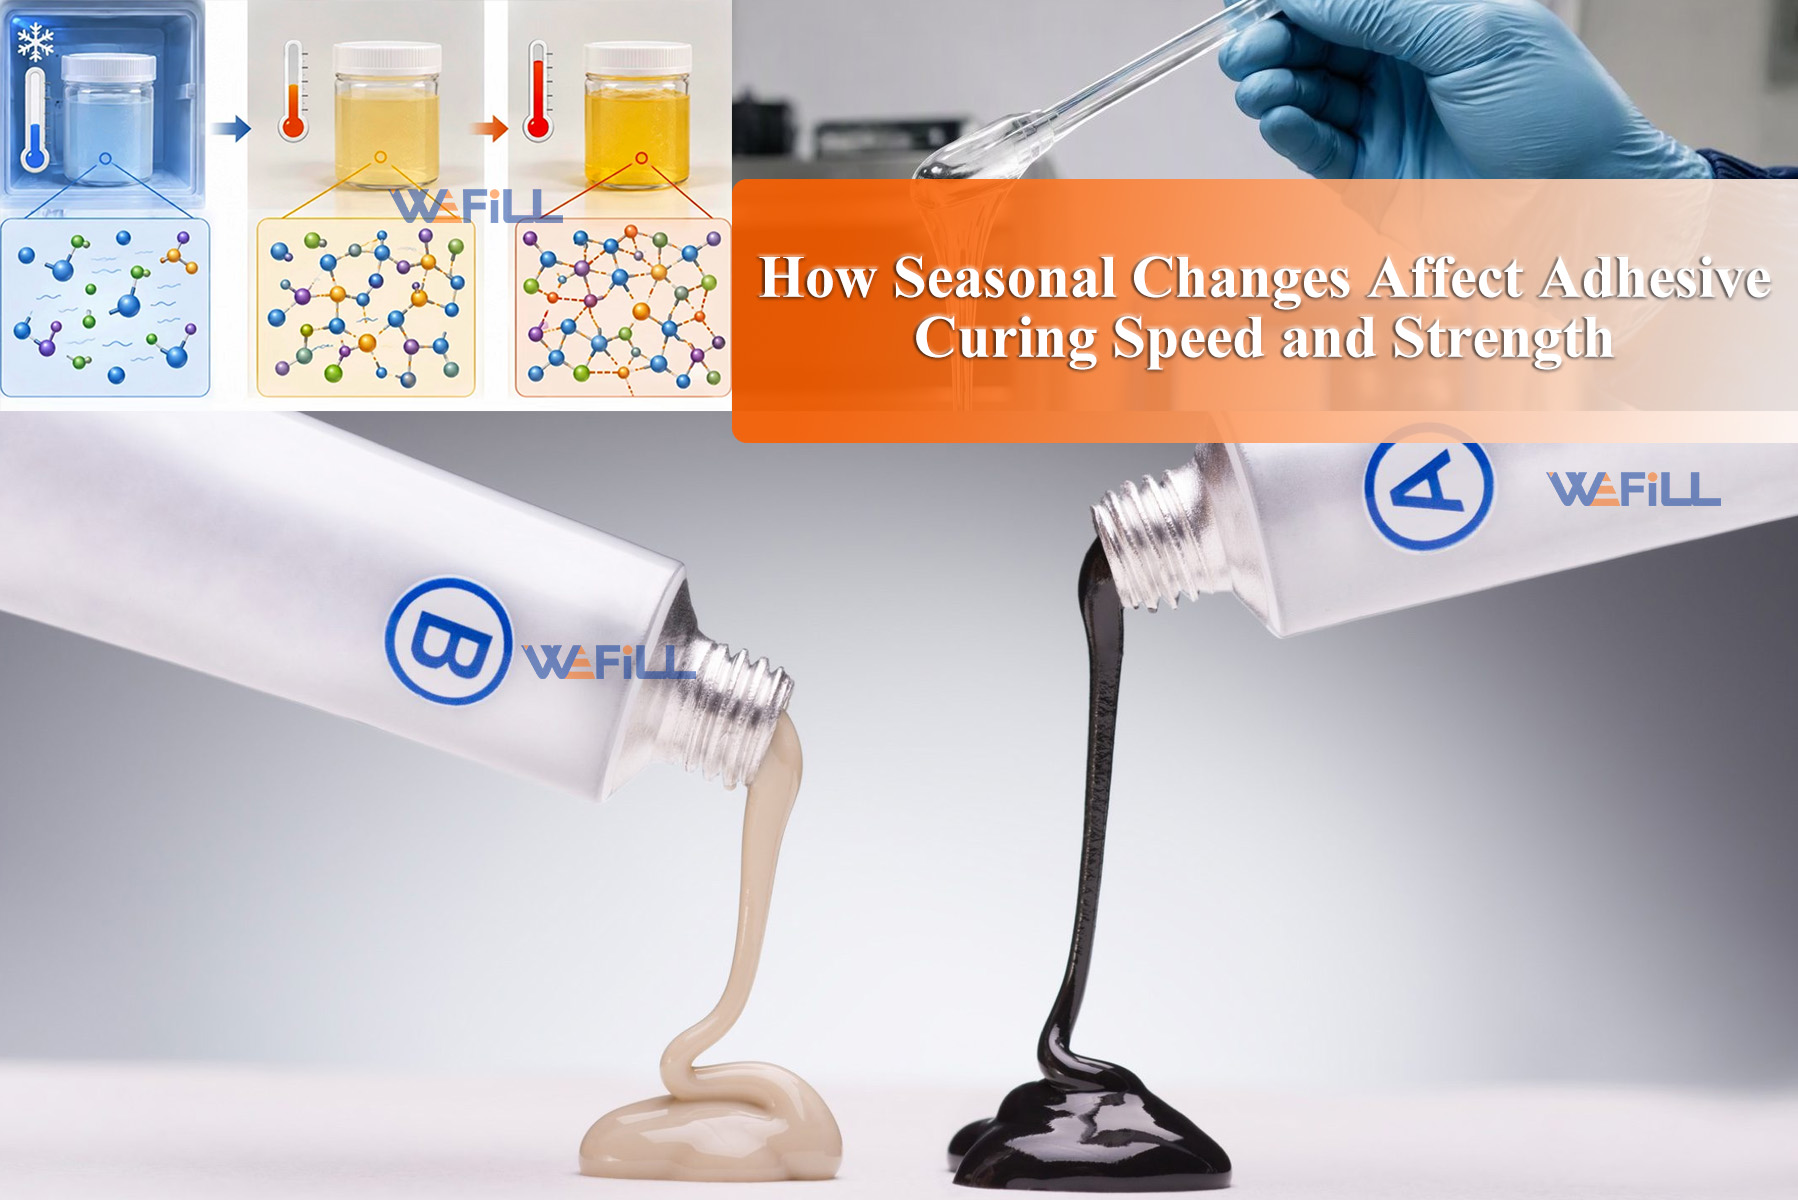
How Seasonal Changes Affect Adhesive Curing Speed and Strength
All the Lorem Ipsum generators on the Internet tend to repeat predefined chunks.
Articel
Large Platen AB Two-Component Adhesive Filling & Capping Machine: An Efficient and Precise Industrial Innovation
All the Lorem Ipsum generators on the Internet tend to repeat predefined chunks.

Articel
High-Performance Polyurethane Adhesives | Strength, Toughness & Sustainable Bonding Solutions
All the Lorem Ipsum generators on the Internet tend to repeat predefined chunks.